This blog was pretty much inspired by this card. I made this card for my upline's sketch of the week challenge. The challenge is issued every Thursday and our item has to be submitted by Wednesday. Nothing special to win, just a wider variety of ideas.
Like I said, this card inspired my blog, so every week, I'll post up pictures of my work/hobby.
So this week I decided to make another card to show the process I used
to make this card. In all honesty, I love my first card. I made this
second card and it just doesn't give this card any justice at all.
I love the colors though and how it looks. It just doesn't speak to me like the first card. But, oh well, on to the instructions!
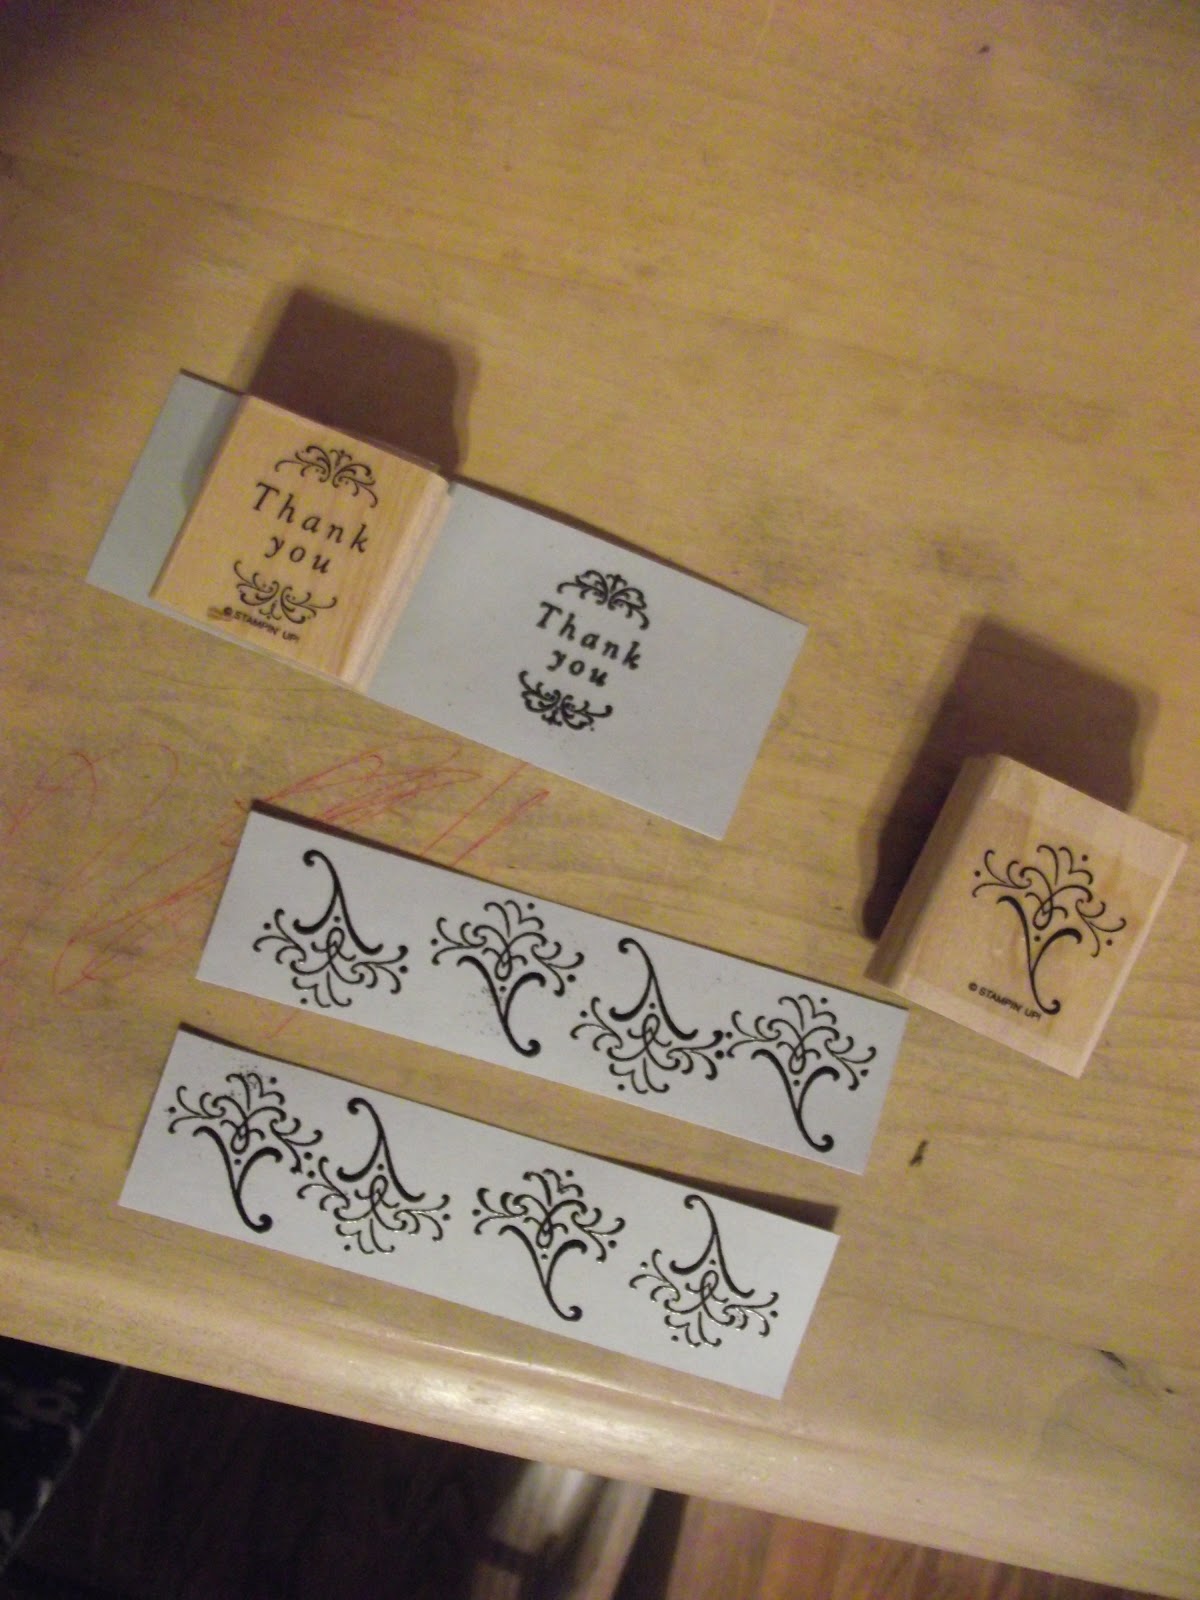
Take your Basic Grey and cut it to 5" x 4 1/2" (Now please note that you will make the embossed images along the 5" side.) Then you will take your Versamark and stamp the image onto your paper.
Next take out your embossing powder and heat tool. I used basic black embossing powder and shook it on the stamped image and then heated the powder with my tool. (Unfortunately, I got a little carried away at this part and forgot to take pictures :-/ ).
But here's the design after I embossed and sized down. The final product size for my panels is 5" x 1 3/8". Next I used the Designer Punch Label on the Thank you and used a 1 3/8" square punch on basic black.
I then took a basic black and cut it to 5 1/4" x 4" and taped my panels on both the top and the bottom.
I took my tape and taped my Designer Label Punch to the black square. I also cut out a basic grey 5 1/2" x 4 1/4". At this point I grabbed 2 Dimensionals and cut them in half and placed them in the corners of the square.
And Voila. Your done in 10 minutes
Till next time.


No comments:
Post a Comment